Here you can find Solar Panels and technological accessories related to Solar Energy: Click Here If you want to learn about Solar...
Here you can find Solar Panels and technological accessories related to Solar Energy: Click Here
If you want to learn about Solar Panels, to advise you before buying or to build your own Solar Panel: Click Here
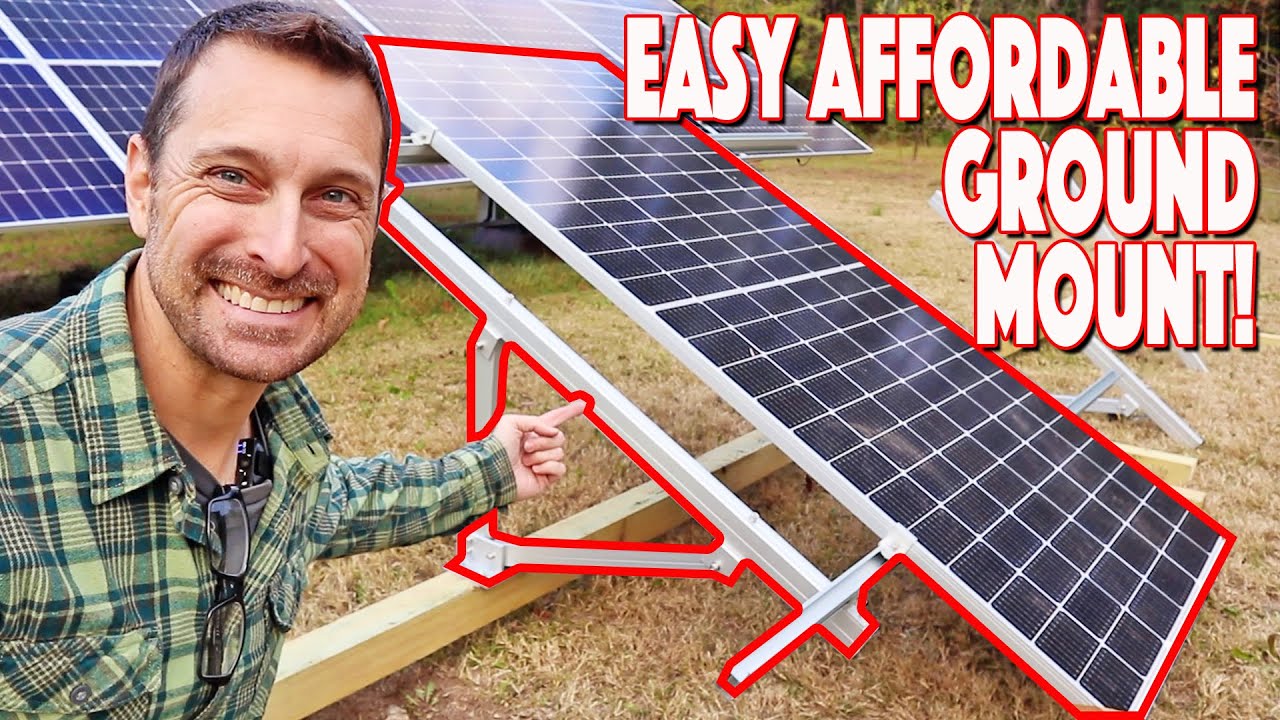
so many people have asked me for a recommendation for an affordable solar ground Mount racking system I finally have one for you and if you want to DIY your own solar system and not put 400 holes in your roof this is a critical piece of equipment for you let's talk about this new product that just hit the market [Music] so this is the eg4 bright Mount and it is a small aluminum frame rack that will hold up to four 500 watt solar panels today I'm going to talk about three different ways that you can use to install this one of them being portable and that's the method that we are going to use today before I permanently fix it to the ground now here's the cool thing about this rack you can put up to 2 000 watts of solar panels onto it and it only costs 279 bucks right now that's pretty much the most affordable thing you're going to find on the market for a ground Mount system so there are a few other options out there that I've found but I don't think they compare price wise to this so the first one is a Tamarack system and that comes or I find it at Northern Arizona wind and solar and the price for a four panel is about 410 or 420 dollars and you still have to buy the schedule 40 pipe which depending on where you live in the country could cost you a lot of cash then they also have something that's called like a ballast bucket and you want the panel to each bucket each bucket is I think 67 and you need to still buy the gravel to fill it up in my area of East Texas gravel is expensive it's about 90 dollars for a yard but again with anything solar you're gonna have to check prices in your area of the country I believe this is the best option for everybody now can you also make a wood rack yes but when we were building the big one in the past wood prices were off the charts it would have been more expensive than doing what we did and remember if you are going to build a wood rack you're going to still need to put concrete in the ground you're going to still need to buy mounting hardware to properly Mount the solar panels to the wood frame now we're going to show you how to assemble this so the three ways that you can anchor this mount to the ground are one drilling anchors into a concrete slab that you already have existing now that could be into a back patio or something like that if you have the room they don't give specific measurements for doing that the One Direction that they do give in the instructions is to dig Piers that's method two as you can see by the whole location we will be doing that in the near future but those peers need to be 33 inches deep and 19 inches on each side then they'll stick up out of the ground about 10 inches the instructions only come in millimeters so I believe it's 850 millimeters you'll just have to find an online conversion I think it was like 33.25 or 2 4 inches deep and the third way we are going to do it is portable like this using Timbers for the ground now they also do not give instructions on how to do this so I'm using my best judgment and I'll show you what I did so you're going to need a stable Outrigger for this because the rotational force on these is actually quite great the moment force on it right at the connection is going to tend to rotate it forward this way and once you you get the panel on here it's going to be even heavier and it's going to want to rotate more so having your Outrigger longer in the front here than it is in the back is appropriate so I have 18 inches in the back and then three and a half feet in the front what we're using to connect these two Timbers together are structural screws these are six inches long and these are 5 16 inch screws I'm not sure about the shear on these and how that rotational force is going to act on on these but they should be strong enough the kit comes with four of these feet they're pretty beefy aluminum and they need to be attached to this Timber with a lag screw the concrete anchors that come in the kit are 3 8 so I have 3 8 inch leg screws for the Timber and they sit 51 and a quarter inches on Center apart from one another I'm going to pre-drill and mount this and then I'll show you how to put one of the braces together I did also purchase some lock washers and some regular washers for this okay to put this together you need a 13 mil open end wrench and a six mil allen wrench then you're going to need two of the din 912 bolts that are 80 mils long and then five of the ones that are 65 mils long to these u-shaped brackets and then the foot this is easy the u-shaped brackets get attached to the wider end of this top bar now there's holes on the ends but these brackets go on the holes towards the center of the top bracket here for top bar you have two square tubes here and this one is the one that goes pretty much straight up and down toward the back this one goes towards the one in the front this skinnier one right here and those get attached with the 65 millimeter long bulbs you want to leave them loose and dangling so the one with the two holes goes at the back and The Wider tube will fit into there you can tell because it's got two holes on the bottom as well once those are in attach the one at the front and then tighten everything up now you can choose to put these together like this first and then attach them to your post or do it the opposite way and attach the foot first and then attach the rest of it to the foot choice is yours so the brackets for your crossbar are really easy they're all the exact same the ones on the top face this direction so do the ones on the bottom so you'll just thread the 80 millimeter bolt through the hole on the end and then this cross bar will Mount right to it super simple you can see the ridges on the bracket will marry up with the ridges on the cross brace and this little bracket right here within the bracket will slide into this track right here now to connect those rails or crossbars together they it comes with this piece right here it's got this little round piece right there that digs into the grooves on the side so make sure that's on top and this bracket piece fits in there like that Crank It Down and it secures itself really quickly so when you're purchasing this Rack you're going to need to purchase the mounting hardware for your panels these come in 30 35 and 40 millimeter depths right here you're going to need to understand what depth your panel is before you purchase these now the kit also comes with these grounding conductor brackets you need a grounding conductor for this rack because it is not grounded itself you're going to need to attach that grounded conductor to a ground electrode these have the exact same attachment pieces as the other brackets and they just slide into this portion of the top rail or the bottom rail but the top one is much easier if you're interested in getting this rack I'll leave a link to it in the description below so when setting your panel something that's very important you have to pay attention to is what's called inter row spacing and there are calculators online to help you with this I'll list one in the description below and that's so you don't shade your other panels with your new panels that you've placed in front of it you need to calculate for the depth of the winter at the point where the sun is the lowest in the sky that it comes over the top of your new panels it doesn't shade your other panels obviously in the summertime that's no big deal because the Sun is going to be higher but you need to calculate it for the longest day of the year I think that's right around December 20th maybe somewhere around there now when we connect the wires from this array to this array we are going to practice proper wire management we're going to run conduit under the ground to the next array over here and that'll help keep things nice and tidy in the back and I'll have the ability to cut the grass between them friends this is one of the easiest quickest things I've ever put together and for me to get almost 2 000 watts of solar on a rack that I can put up in just a few hours that costs under 300 bucks that's pretty amazing yes of course you have to add the cost of the Timber and the lag screws or the concrete if you're pouring the piers with some rebar probably too but even adding all the those to the cost of the Rack you're still not going to come close to what some of those other racks cost now go click on this video right here which talks about our cost for our entire original system it's way less than you think have a beautiful blessed day we'll talk to you next time bye [Music] ...


No hay comentarios