Here you can find Solar Panels and technological accessories related to Solar Energy: Click Here If you want to learn about Solar...
Here you can find Solar Panels and technological accessories related to Solar Energy: Click Here
If you want to learn about Solar Panels, to advise you before buying or to build your own Solar Panel: Click Here
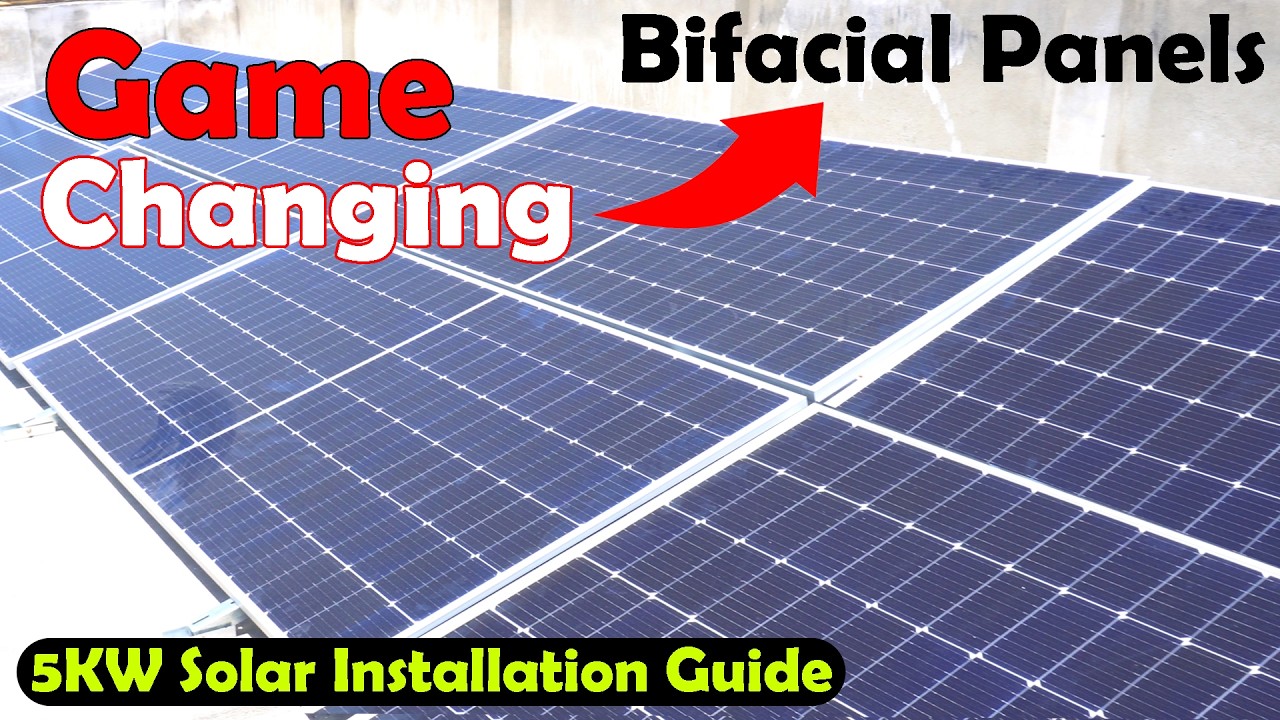
today's video is about the installation of a 5 Kow solar panel system I'll walk you through the entire process of going solar from start to finish we will cover everything from solar panel selection the installation process the inverter that converts solar power into usable electricity the mounting system to secure the panels to the roof and of course the low test I will also give you a pro tip that will reduce the cost of your solar setup and ensure you have no worries in the long term so without any further delay let's get started let's first start with the solar panel selection to be honest I don't have much experience with solar installation so I started asking people who already have a solar setup most of them recommended longy solar panels lr5 d72 hbd D 545m so I downloaded its data sheet and I was amazed the 1882 mm size is larger than some previous standard wafer sizes larger solar cells can capture more sunlight and thus generate more electricity improving the overall efficiency of the solar module and another thing that literally blew my mind is the bifacial energy longy solar panels are capable of capturing sunlight on both their front and rear surfaces this dual-sided design allows these panels to harness more solar energy compared to traditional monofacial panels which only capture light on their front surface so the bifacial solar panels can generate more electricity from the the same installed capacity this can lead to an increase in energy yield by 10 to 30% depending on the installation environment the bifacial energy thing is just incredible 12E warranty for materials and processing and 30-year warranty for extra linear power output impressive I also checked the mechanical parameters and under the electrical characteristics you can see we have different module types the one I'm interested in is the lr5 d72 hbd D 545m I can see the STC standard test conditions and noct the maximum power is 545 watt the open circuit voltage is 49.6 5 volt the short circuit current is 1.92 amp voltage at maximum power is 41.8 the current at maximum power is 13.04 and the module efficiency is 21.3% I also check the operating parameters mechanical loading and temperature reading So based on these technical specifications I think the long solar panel is an efficient choice for both residential and commercial solar installations for my 5 KW solar setup I have purchased eight longy solar panels each solar panel cost me around 25,000 rupees you can see these are the lr5 d72 hbd d545 M model panels This is the rear surface and you can clearly see the solar cells these cills can capture reflected sunlight and diffus light from the environment such as light from the ground nearby buildings or other surfaces and this is the front surface of front side to capture direct sunlight and this is the 5 Kow sunlight solar system a monitoring system to trck the energy production we will talk about it in detail later in this video how to connect it and how to use it I will also explain why I chose this particular solar inverter you will get answers to all your questions anyway you will also need a mounting system to secure the solar panels to your roof the frame is a crucial part is it provides support and protection to the solar panels make sure it's made of high quality aluminum which is strong and lightweight now let's go ahead and start the installation [Music] Happ [Music] you will find terminals like these on the B of each panel as you can see this is the negative or Ground Terminal and this other one is the positive terminal we will connect this positive terminal to the Ground Terminal of the next panel to make a series connection we will follow the same connections for the remaining six panels [Music] I [Music] installation of all eight solar panels has been successfully completed I must say this was the difficult part now we have four groups of panels each group has two panels and I have already explained how to connect them in series now we will also connect these four groups in series so let's make the terminals to connect these panels in series [Music] for [Music] we use the same type of male and female connectors with wires to connect the panels together all the panels are now connected in series this is the main ground and this is the main voltage connecting panels in series is just like how we connect battery cells in series I have made some videos on lithium iron batteries and lead acid batteries where you can learn about series connections anyway let's go ahead and check the voltage 350 volts pretty impressive if you want to avoid troubleshooting later I recommend checking the voltage with a digal multimeter as you connect each panel in series this way if there is any problem with a connection or a connector you can easily fix it right away because after making all the connections troubleshooting becomes quite difficult anyway our panels are now ready for final connections we just need to connect the main voltage and ground wires to the input of the solar inverter and that's it as you can see I have placed the inverter right next to the changeover switch these are the main DC voltage and ground wires coming from the solar setup and these are the ac voltage output wires which I have connected to the bottom side of the changeover switch the upper side of the changeover switch is connected to the grid wda before this I had connected the generator wires here anyway I'm sure you already know about the change of switch so I won't talk much about it before turning on the system for the first time make sure to turn off all the loads in your house no load should be on so let's turn it on and see how much load our solar setup can handle right now five ceiling fans two room coolers Five Lights of fridge a 24v UPS inverter with two batteries connected a TV and a pedestal fan are on you can clearly see the complete load and voltage last summer I was paying an average bill of50 ,000 rupees after 2 months I will show you my electricity bill and share some tips on how to further improve the efficiency of your panels now I will give you some Pro tips try to buy a local solar inverter is it is much cheaper and if something breaks you can easily fix it I will make a video on solar inverter making very soon the best time to use the water pump and iron is between 11 a.m. and 4:00 p.m. our load is much higher than an average home and still this 5 Kow solar setup is working amazingly after the load test I can confirm that a 5 Kow solar setup is more than enough for an average home so that's all for now support me on patreon for more videos I hope you like today's episode like and share this video with your friends see you in next episode and thanks for watching ...


No hay comentarios