Here you can find Solar Panels and technological accessories related to Solar Energy: Click Here If you want to learn about Solar...
Here you can find Solar Panels and technological accessories related to Solar Energy: Click Here
If you want to learn about Solar Panels, to advise you before buying or to build your own Solar Panel: Click Here
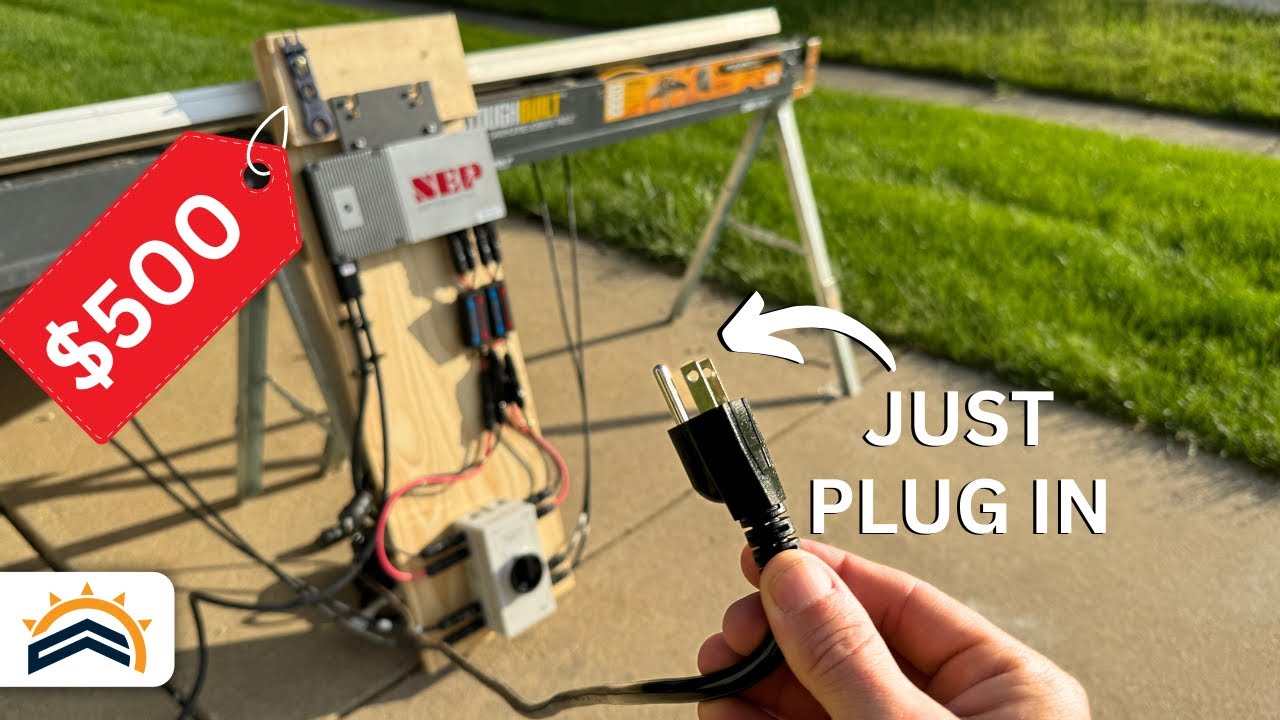
how's it going you guys it's Scott with everyday solar and today I want to show you kind of round two testing for a easy DIY plug andplay solar kit here is the micro inverter we used from Amazon it's a 1200 watt micro inverter that was round one the challenge is that failed within two days so that is a nogo we have two 320 watt used solar panels here and those are going into our round two unit it's also a microinverter but it is a 600 watt micro inverter from NEP and I'm a lot more confident about this one now I have some power analyzers there in the DC isolator but you don't need any of that that's just to help monitor the test the key to this microinverter is it puts out 120 volts which is not common compared to most production microinverters that you'll see in the US and that just runs right into my garage where we're plugging it in for this testing now we'll dive into the plug-and place system but first I want to make sure you understand the Baseline of what is a normal grid type system look like where you're trying to offset your monthly power bill what components are involved and it is a lot more complex obviously than the plug andplay system for me I have 11 Kow installed on the southern facing side of my home Standard Iron Ridge rail setups and then you can see the little boxes which are all nphase micro inverters installed underneath the solar panels then the solar panels are installed and that is 240 volts ac that comes together and comes into this combiner box here from n phase so for this combiner box we're going to have those are three separate branches coming from that 11 KW this 15 amp is just to power this overall system because you also have their Gateway module which is all the brains of the operation here within this same box and then coming out of the end phase combiner box we would feed that over to this main disconnect that's going to give you shutdown for your entire solar setup you can hit that and shut everything off neutralize it from a safety standpoint but on then it would pass in and go inside my house to the panel let me show you how that lands inside the panel now inside the panel and there is a lot going on here I have an Emporia energy monitoring system that is what I installed I love their system and that's actually how we're going to monitor the plug and place it up so that's our main clamps here go into the Emporia and then also I have subcircuits that are all clamped off the end phase also have their own clamps here to go ahead and monitor your system and your two main conductors and then my solar is coming from that combiner box in this black conductor and this red conductor and this is a line side tap so those are tapping in to the lines that are coming into your panel and that is before your main disconnect now depending on your setup you might actually be coming in a breaker and that would be a 240 volt breaker probably 20 to 40 amps inside depending on your system and it's usually on the opposite side from your main disconnect so it' be all the way on the other end of your main panel so now you have an idea on that professionally installed grid tide system that completely offsets my power needs at my home but for this DIY setup this kind of a way to get started minimal initial cost and just a lower barrier of Entry so what we have here I have a custom board setup you would really only need this micro inverter in your solar panels it's going to come with your extension cord you don't need this DC isolator that I have here and you definitely don't need to put these two power analyzers in line that's just for the testing but we have our panels coming in here so with two different panels they're 320 watts and here's the spec sheets on these Trina panels these are used panels and I got them for under $100 per panel you can usually find those type of panels on Marketplace or look for new panels but they're discontinued and they're doing a clearance sale then we take the outs from the is later and we run those through the power analyzers this gives me a quick look at voltage and also amperage coming out here pre microinverter so what I get here we're going to have some losses right when we go from DC and invert that over to AC where we can land that within our standard 120 Outlet so we do have pretty direct sunlight right now it's a little hard probably for you to see but down here in the lower right hand corner I'm getting about 240 Watts up to 250 Watts just depending on the intensity and we do have clouds moving in and out so we do see that going up and down 27 to 28 volts at about 8 to 9 amps and I have a very similar output on the other side here for our other panel which we would expect since they're side by side then we go up to our NEP micro inverter they have as expected the two different sides for your mc4 connectors you're not going to be able to see it but this is a small LED you either cover it from the Sun and kind of take a look right now it is flashing red for two seconds then off for two seconds and then it repeats that is an indication that everything is good you would not want to see a constant red LED that would indicate an error and that you have an issue so here are the complete specs for the unit the model number is BDM D300 X2 very specifically this is A- LV a lot of people get confused the BDM -300 X2 are readily available you can find them they're actually cheaper but that is going to be a 240 volt out not a 120 volt out the LV is low voltage so you need that if you want to do this type of plug-and-play system you can see the rest of the specifications and also another thing you know 300 X2 you would think it's 600 watts it does call it that the nominal output power is going to be 500 watts and that is what I'm seeing as the cap during my testing today now the big benefit to this micro inverter compared to the Amazon one we tested earlier is you are going to have all of your certifications NEP is a very reputable brand and it does have high quality and specifically UL 1741 is listed right on the specification sheet which is encouraging and not seen on the Amazon versions and then on the output side you're going to have two watertight connectors one is going to be for daisy chaining multiple micro inverters together so I'm going to do future testing where I'm bringing two of these together and the other one is going to be for your extension cord if you use the link in the description for this nap micro inverter they also give you a 50ft extension cord with the connector you need on the end and then they'll also give you a power analyzer to help you monitor what's going into the outlet that you're plugging into so what about cost and overall what have we produced today what can this system produce so you can start to do some type of return on investment calculation so for this micro inverter the 50ft extension cord and also that power meter which does an okay job monitoring what you're actually bringing in it has little bars in the lower leftand corner that will give you kilowatt hours per day and then that will add up throughout your week in terms of what you're producing daily I do recommend that you'd be using U solar panels so again probably $100 per panel you're going to have to mount it some way so probably $100 there for a cheap Mount and then you would want to run that into an exterior Outlet a dedicated 20 amp outlet with an inuse cover so you can close that cover and it can seal off as the plug is actually plugged into the outlet all that together you're probably looking at about $850 all in now some of that if not all of it should be able to go on your tax return assuming you could get the federal tax credit which is 30% if that is the case that brings you down to about $600 that you would need to overcome to get a return on your investment you would need to save that in energy that you're offsetting in your home to get a return if that's something you're looking for if this isn't just a project you're really interested in and it's not really a financial decision but for monitoring the system this is really why I like the Emporia energy monitor I go to my home and I have all my different circuits specifically this one's going into my garage so I drill down into the garage and I'll see right now I'm producing 140 Watts the sun has come out it's later in the day but we're still producing some now by the minute I can see it going up and down you can see the sun just came back so that's why we had that Spike there and then we had a lot of clouds a little bit of sun we actually had a lot of clouds today it was the sun would peek out but it was not throughout the entire day and we're kind of maxing out at about 400 watts or that or 04 kilowatts or 400 watts that's what it's showing here now hourly you can see what you're accumulating in terms of energy so that's going to switch from kilowatts in the seconds and minutes to kilowatt hours for your hour hours and then days so overall throughout today I have 1.28 kilowatt hours again I think I'll probably end to day around 1.5 because the sun is coming out and then on average I think I'm around 2 kilowatt hours for this system in my area if I take a year round average now overall I really like this system I think it's one of the best ways to get started in solar and just understand your energy consumption how much you can actually output in terms of two panels and just start to understand that better now is this going to offset your overall monthly power bill nope I think you're going to have to go to a much larger system than that for most of us and you can check a link in the description you fill out a little bit of information and just in a few minutes you're going to be able to get the size that you need to offset that monthly power bill and then roughly how much do that cost after the federal tax credit and then if you want to go further they can help you out with getting local installers to get actual quotes and see if there's anybody you want to partner up with to get that on your own home this one you'll also find a link in the description for the actual equipment we're using here this is my favorite plug-and playay on the market everything else is kind of that cheap Amazon you don't know where it's coming from you don't see what's certified and what's not the one that I did before burned out in actual two days and there was a ton of reviews on it saying similar things that it fails right away but just now check with your local electrical inspector mine is okay with this because it has the UL 1741 certification my utility is okay with it I cannot get approved for net metering and they will not bill me for any extra power that I'm sending back on they're not going to build that out so I did confirm that and then you might want to check with your HOA if you're in HOA as well because some ground mounted systems and stuff are not approved but I want to hear your feedback let me know down in the comments and I will continue to test this and give you guys updates so if you want to check out what did I actually accumulate setting this up for multiple weeks or even been running it for months check out this video right here and if you want to install the Emporia energy monitor to help monitor this type of systems check out this video right here so thanks for joining me on this one and we'll catch you on one of those next videos take care ...


No hay comentarios