Here you can find Solar Panels and technological accessories related to Solar Energy: Click Here If you want to learn about Solar...
Here you can find Solar Panels and technological accessories related to Solar Energy: Click Here
If you want to learn about Solar Panels, to advise you before buying or to build your own Solar Panel: Click Here
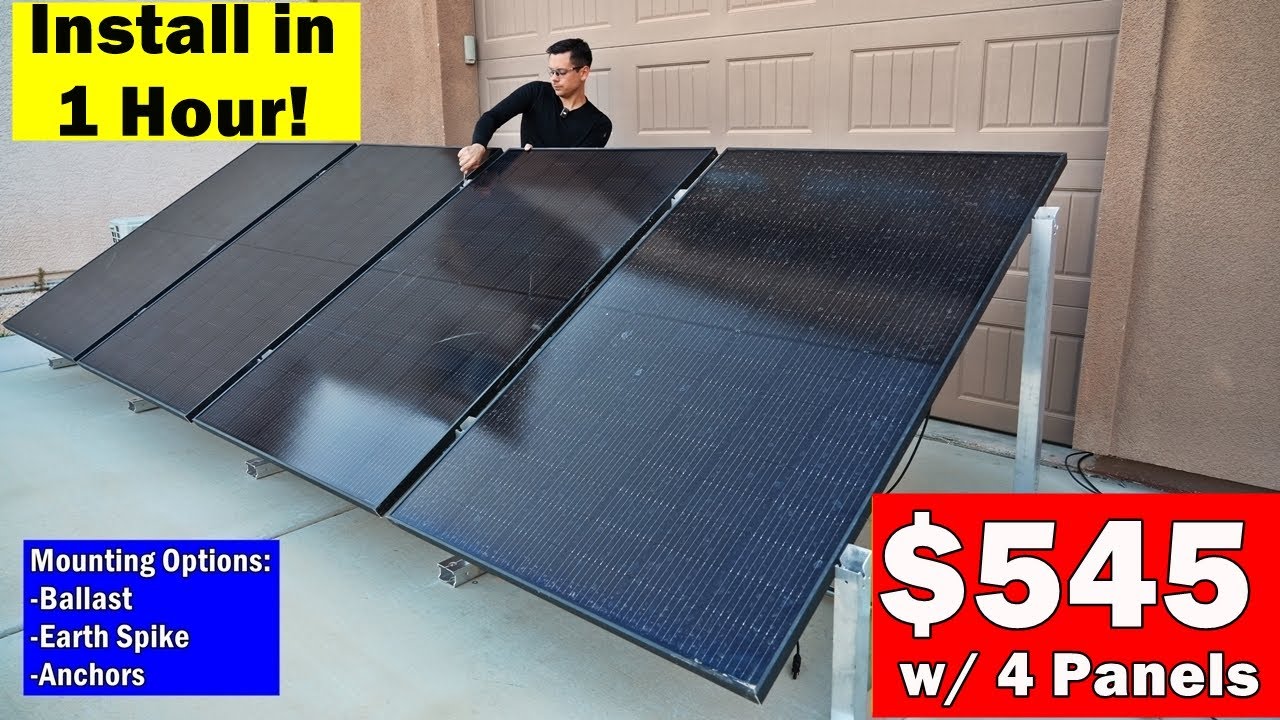
go I did not read the instructions doing pretty good though oh these panels are wide hey that was pretty fast I do like these things now as you tighten this down this piece of metal goes into the frame of the panel and electrically bonds it to the frame of the ground Mount now in my garage it took 10 minutes to make these mounts and to put the first panel on it was only 15 15 minutes so let's see how long it takes to do the rest now to line these up you have to look at the lines on the cells and just match up where the bolts are and then you can tighten it down see how close I lined it up no way I think I got lucky no I didn't it's off by like this much and that'll drive me nuts if it's not perfect this one's messed up it would not loosen up try another one so last night it took about an hour to install all four panels compare that to the last ground Mount that we had called the bright Mount that thing took like three or 4 hours it was very hard to line up everything and to put everything together this one is much easier now the next step is actually mounting this into the concrete but you don't need to do that in the bright Mount you have to drill into concrete but with this one there's lots of mounting options now first you can do a ballast mount with sand or rocks or gravel or whatever you have available they sell a blanket that covers about 12 of these beams and then you glue it down and then you put dirt over the whole thing and they were showing me pictures and videos of their tests and it's pretty darn impressive and it's very easy to install now for those of you guys that have lots of dirt and you're building a large array this is probably the best method for you next Bast mounting option is to use water jugs that actually go on top of these beams and you just fill them with water and they weigh about 800 lb and everybody has water and you can just throw them on here so you don't need any special tools or anything if you have a hose you can just fill them up and if you want to move them you just drain it and then move the whole rack now the next mounting option is quite interesting these staks go into the ground and then you fill them up with epoxy from the top and the epoxy comes out at these holes and actually holds into the ground and I've never heard of this mounting method but I saw videos and these can resist thousands of pounds and you don't need special tools or equipment all you need is a hammer drill so if you have a Home Depot nearby you can easily install these so much easier to use than those Earth screws and some types of soil do not like Earth screws so I was pretty sold on these when they were telling me about them these are super cool and the pullout strength was better than the ballast mounts and you can install these very quickly previously I didn't want to do earth screws but I think this is a pretty good option for DIY also they were saying it's better in more soil types than the ground screw as well now the final method is using a hammer drill and some concrete an Anor screws and these are very easy to install but they're not for everybody and we're trying to get away from concrete because the bright rack mount you have to put all this concrete down and it's kind of difficult so not for everybody but it still has the holes to do so so it's still designed to work with this now the wind rating and the load rating on these is actually much higher than the other options also there's less size limitations on what panels to use you can use a 200 W panel or a 700 W pan panel or whatever you wish so overall very fast and effective way to put some solar panels up and you can expand this to any size quickly and this was a 100 times easier than the bright rack we could fill this whole yard with panels in a couple of hours and be completely done and it's easier to disassemble this look at how many parts there are and to mount the panels and to ground it is much more difficult you have to have concrete footings or a slab to mount these also the packaging this one comes in a massive mive box with lots of metal and it's really heavy with this one this whole rack was a 40 lb box and this is how big it was the bright rack is about double the size so yeah very Compact and easy to build and the amount of effort it took to build this versus the bright rack I remember being super tired and hungry after building that thing on my own so yeah this thing under an hour and I probably could have done it in about 40 minutes the last panel I didn't know where it was so it took me about 15 minutes to find it now this company is called integr and they're going to have multiple Distributors soon they have tile mounts that we're going to cover in another video which are really cool they make lots of other cool stuff I highly suggest going on their website and looking at their products but for DIY people this is probably the best option yet the lowest cost the fastest time to assemble and the least amount of effort and most people have lots of mounting options no matter where you're mounting them so to finish up this video I'm going to go to the store one more time to get some more concrete anchors and we're going to actually Mount this into the [Music] slab very easy to remove these quickly so you can get to those bolts it actually comes with this wrench and for good reason at first I was like why would they include a whole wrench but if fits perfectly inside of these holes now I would like to hear what you guys have to think is there anything that you dislike about this configuration please let me know in the comments below now this is a new product so if you do have any issues with it please let me know one of these little mounts did not work for me and it wasn't loosening up overall everything else went in without an issue um if you try out their other mounting methods and you don't like it please post it on the form with some pictures but I think a lot of people are going to like this thing a lot um and they're going to be Distributing to a lot of people so yeah we'll see what people think about it in the end but yeah pretty cool little ground Mount and thank you so much for watching and I will see you in the next video bye ...


No hay comentarios