Here you can find Solar Panels and technological accessories related to Solar Energy: Click Here If you want to learn about Solar...
Here you can find Solar Panels and technological accessories related to Solar Energy: Click Here
If you want to learn about Solar Panels, to advise you before buying or to build your own Solar Panel: Click Here
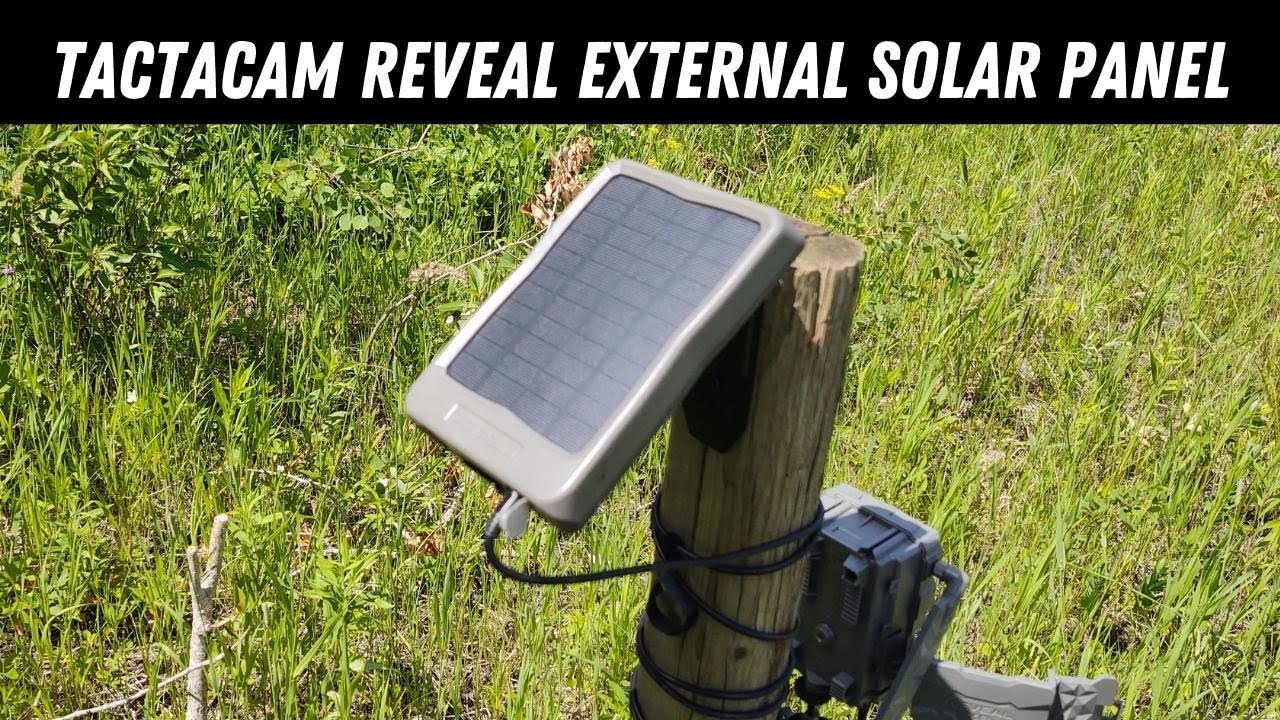
for today's video i'm going to talk about the solar panel for the tacticam revealed x xb sk even though the sk does come with a small solar panel i think the sk model is actually discontinued i do have one i run that little solar panel haven't had any issues with it yet but this is a solar panel you could buy for 60 bucks that you can power any of those cameras with the nice thing about it is you can power those cameras without batteries there is a power pack inside the solar panel that will charge from the solar and run the camera if it's dark or the solar charging conditions aren't ideal so let's open this thing up show you what's in it we'll go out and set it up okay so we have it open here's the solar panel not very big probably about maybe four or five inches wide maybe eight inches tall so not very big this is going to be your power block so when you get this you initially want to charge it for four to five hours i guess is the recommended time and that will charge the lithium batteries inside so it doesn't have to feed the it doesn't have to charge by solar right away so this is the power pack you get and you're you're going to get a six and a half foot cable that is going to run from the solar panel to the camera and you're gonna get some mounting hardware that will mount the solar panel to a tree a pole whatever you're gonna do also comes with a strap so you can you can mount the solar panel to a tree using a strap if you want i just use screws so far i've not mounted one to a tree i've mounted it to to some poles that i've put in so if you're able to use cameras on public land where you live or hunting on some private land of somebody that you don't want to screw into a bunch of trees and if they don't want you to or whatever reason here's a strap that you can use i don't use it i'm gonna get some instructions very basic tells you how to mount it stuff like that it's super simple there's gonna be a button on the reverse side here you're gonna push that and it will show you the amount of charge that the panel has there's four lights so obviously when the when the four lights are lit up the internal battery is fully charged you're gonna have two ports on the bottom one is gonna be for running from the panel to the camera the other one's gonna be for charging it very self-explanatory just very quickly the reason that i got the panels is so they recommend the lithium batteries for the tactic cams and i've done some searching online i found batteries anywhere from 18 up to about 24 for 12 batteries the tactic cams require 12 batteries double a's now i've ran the reveal x i've had now for almost a full year i ran that from september of last year all the way till april on a set of batteries no i'm up in northern minnesota winter time it ran all winter it can it gets very cold up down to 35 40 below zero fahrenheit the batteries did did work i'm really really interested to see how the solar panel performs in the winter time if it'll keep it going all winter i'll probably maybe put batteries in but i maybe won't just just to see how it does so when you're looking at overall cost the solar panel is 60 bucks lithium batteries you know if you're looking at let's just say 20 20 maybe 22 attacks or whatever i went eight months on the lithium batteries and my tacticam reveal x probably took in that period of time probably 4 000 pictures maybe something like that so hopefully the real you know the reveal x if i go probably probably 24 months probably before it'll actually pay for the solar panel versus the batteries but just something to think about depends on too if you if you're in a place where you're taking you're taking a whole bunch of pictures you can eat the batteries up a little bit sooner solar panels just a nice easy way you know you're gonna have power and you just have to weigh way the options and see what you think let's go set this thing up okay so we're out here i've got my pole set in i've got it kind of on a trail i've cleared a bunch of brush and stuff to to keep the trail clear because when the camera does pick something up if you got you know small trees and stuff in front of you you're going to get kind of a blur or a glow off of that and you don't want that so i've cleared all that out i'm ready to put up the camera ready to put up the solar panel so set the solar panel down for now first thing you want to do is you want to get your brackets you have your two brackets this particular bracket right here the short one and it's got some little spikes in it that's going to actually go into the tree and or post whatever you're going to use this bracket will actually go on the solar panel itself this hole right here will allow you to press the button that shows you what the battery life is on the solar panel so you're going to want to put this together so this side will mount on the pole this side will mount out you'll have a little lip right here and that is what you want to be on the bottom of your solar panel mosquitoes are just a little extra ferocious here so you want this to be just a hair up from the top of the post or pole or however you're mounting it all right so your screws are in get rid of the screwdriver and you're going to take your long bolt and these little ears right there will actually line up i put the bolt in that way it's a little bit tough to get it tight once you get the solar panel on there all right so now that part is done you can adjust your angle once you put the panel on now as i was talking about on the panel there is a button on the rear side here you press that and that will show you the charge that you have this is fully charged that it plugged in all day so there's that little button there and here's your little quarter inch threads and that's going to attach the camera to this mount right here so what i like to do just loosen that a little bit make sure this is the right side up as you can see that hole lines up get this wingnut started get that nice and tight and get it basically level you'll bring this down and you probably that's about the angle i want it right there and i'll tighten that wing nut and now your panel is secure next thing you want to do you want to mount your camera and run your power cable from your solar panel to your camera so let's do that so we have the panel mounted i'm going to spin the camera on on the bottom side there's a quarter inch thread i've got this hme mount these work really really slick you can turn it up you can move them side to side really really slick it just sits on there you spin it a couple times mosquitoes are extra ferocious i spin it about four times you don't want to go too tight because then you'll actually break them out and then the wing nut on the bottom you just tighten it right up now what i didn't show you was the port for the power cable on the bottom but it's right below the camera now that's plugged in now this is a obviously a long cable it's about six and a half feet long and we only got a little ways to go to the panel so what i do is i just wrap it around the post this cable is actually pretty thick it should be pretty durable speaking of durability i've had one of these solar panels now through a couple hail storms and some wind storms and rain no issues as of yet like on this last run too i'll take and run actually underneath the cord i'll move this up so you can see you can see the bottom here here's your input so when you're going to charge it your output that goes to the camera one thing is i'm thinking about it make sure you have where you can reattach the canvas on upside down because then you won't reel to press your button and also if this sits out in the weather where it plugs in that will fill with water so you don't want that this way it's watertight and voila now you're set up and you're ready to go so as you can see it's very easy to set up the tact cam solar panel you want to make sure you have your solar panel obviously facing south as the sun comes from the east and goes to the west this is just a little bit off but during the day it charges it fully so like i said i've had it for i've had one of these for a few weeks now and it's it's worked well i'm not i'm not even using batteries on my in my cameras once we get into bear hunting would have bears on baits and stuff how many pictures this thing will take uh how long will this battery pack last inside so we'll do some testing if you if you run this solar panel uh have you had any issues with it leave it in the comments one thing that uh just as i thought about it one thing i really would have liked seen tacticam do is put a usb port on the back of this so you could actually use it for more things than just running your trail cameras like you're going camping or something to charge your phone or just you know charge a light or something like that just something simple would i like to see them do that but i know they made it specifically for these trail cams hopefully this video helped you out hope you can get out and enjoy god's great outdoors and we will see you on the next one ...


No hay comentarios